Operator Journey
Charon is in an alpha state and should be used with caution according to its Terms of Use.
The following instructions aim to assist a group of operators coordinating together to create a distributed validator cluster after receiving an cluster invite link from a leader or creator.
Overview Video
Pre-requisites
- Ensure you have docker installed.
- Ensure you have git installed.
- Make sure
dockeris running before executing the commands below.
Step 1. Share an Ethereum address with your Leader or Creator
Before starting the cluster creation, make sure you have shared an Ethereum address with your cluster Leader or Creator. If you haven't chosen someone as a Leader or Creator yet, please go back to the Quickstart intro and define one person to go through the Leader & Creator Journey before moving forward.
Step 2. Create and back up a private key for charon
In order to prepare for a distributed key generation ceremony, you need to create an ENR for your charon client. This ENR is a public/private key pair, and allows the other charon clients in the DKG to identify and connect to your node.
# Clone this repo
git clone https://github.com/ObolNetwork/charon-distributed-validator-node.git

# Change directory
cd charon-distributed-validator-node

# Create your charon ENR private key, this will create a charon-enr-private-key file in the .charon directory
docker run --rm -v "$(pwd):/opt/charon" obolnetwork/charon:v0.16.0 create enr
You should expect to see a console output like
Created ENR private key: .charon/charon-enr-private-key
enr:-JG4QGQpV4qYe32QFUAbY1UyGNtNcrVMip83cvJRhw1brMslPeyELIz3q6dsZ7GblVaCjL_8FKQhF6Syg-O_kIWztimGAYHY5EvPgmlkgnY0gmlwhH8AAAGJc2VjcDI1NmsxoQKzMe_GFPpSqtnYl-mJr8uZAUtmkqccsAx7ojGmFy-FY4N0Y3CCDhqDdWRwgg4u
If instead of being shown your enr you see an error saying permission denied then you may need to update docker permissions to allow the command to run successfully.
Please make sure to create a backup of the private key at .charon/charon-enr-private-key. Be careful not to commit it to git! If you lose this file you won't be able to take part in the DKG ceremony and start the DV cluster successfully.
Step 3. Join and sign the cluster configuration
After receiving the invite link created by the Leader or Creator, you will be able to join and sign the cluster configuration created.
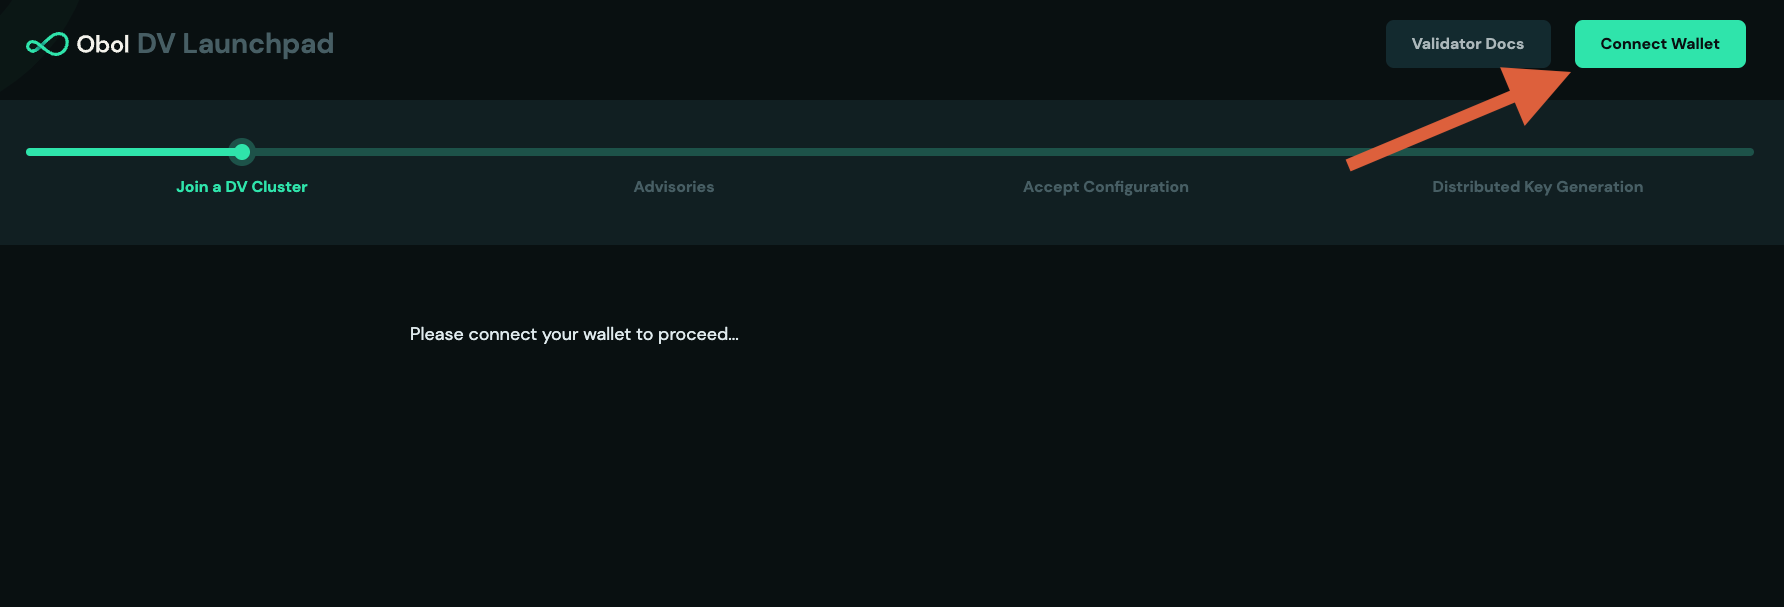
Go to the DV launchpad link provided by the leader or creator.
Connect your wallet using the Ethereum address provided to the leader in step 1.
Review the operators addresses submitted and click
Get Startedto continue.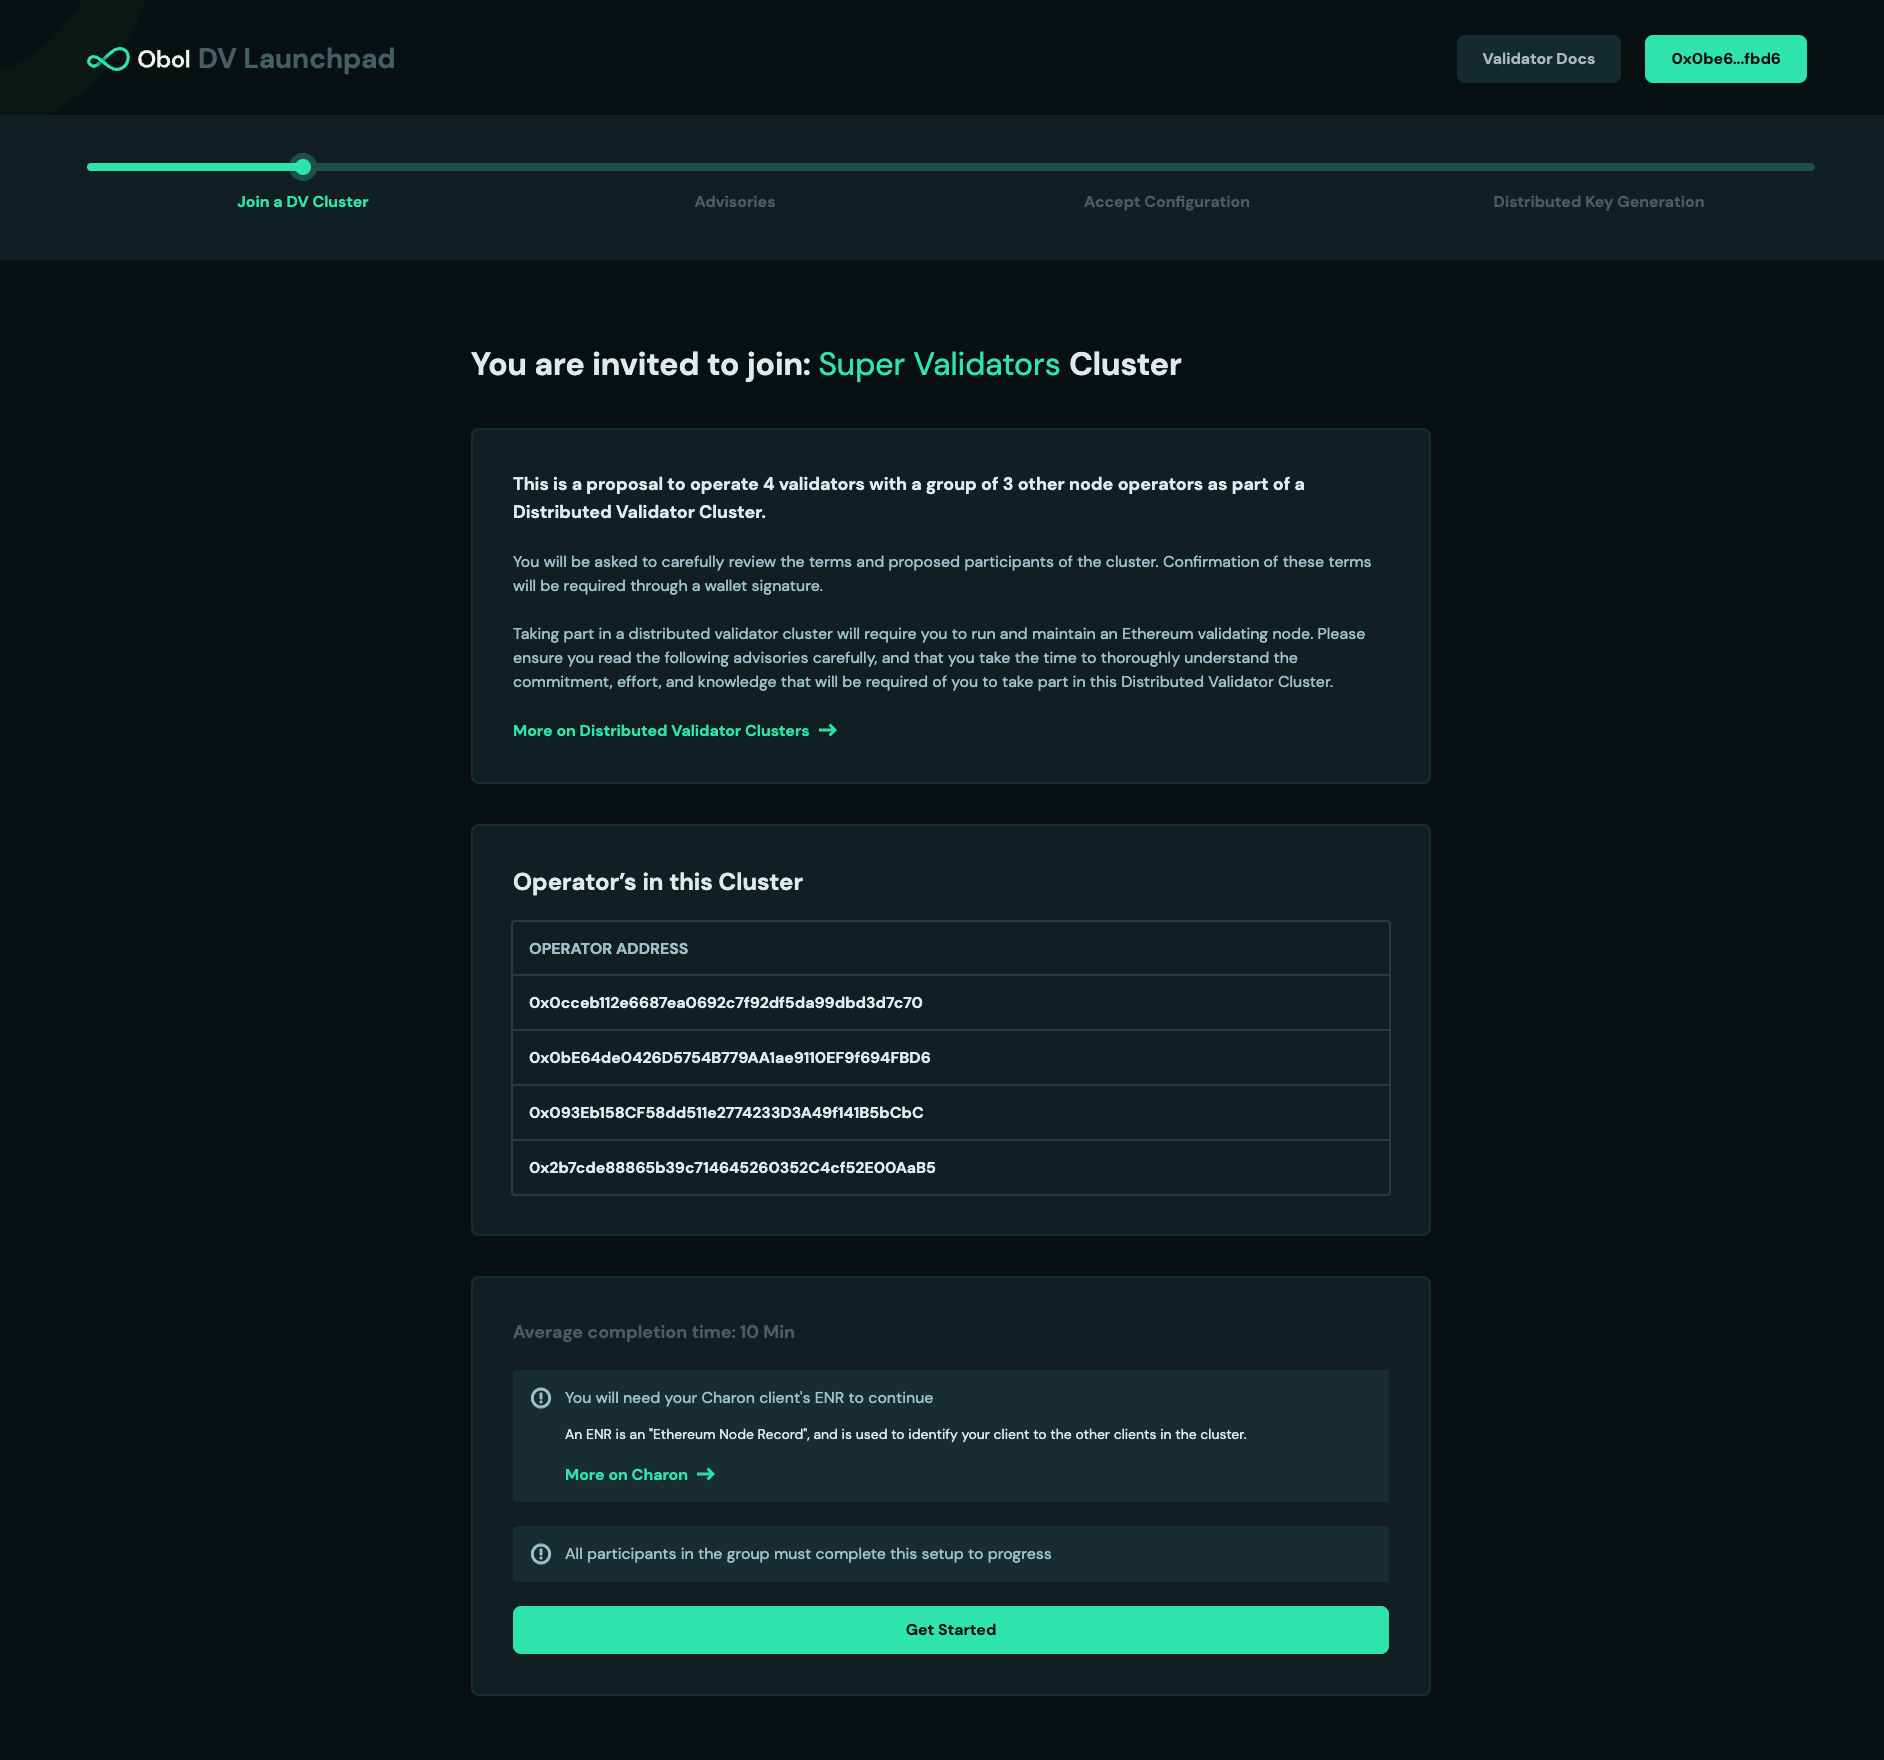
Review and accept the advisories.
Review the configuration created by the leader or creator and add your
ENRgenerated in step 2.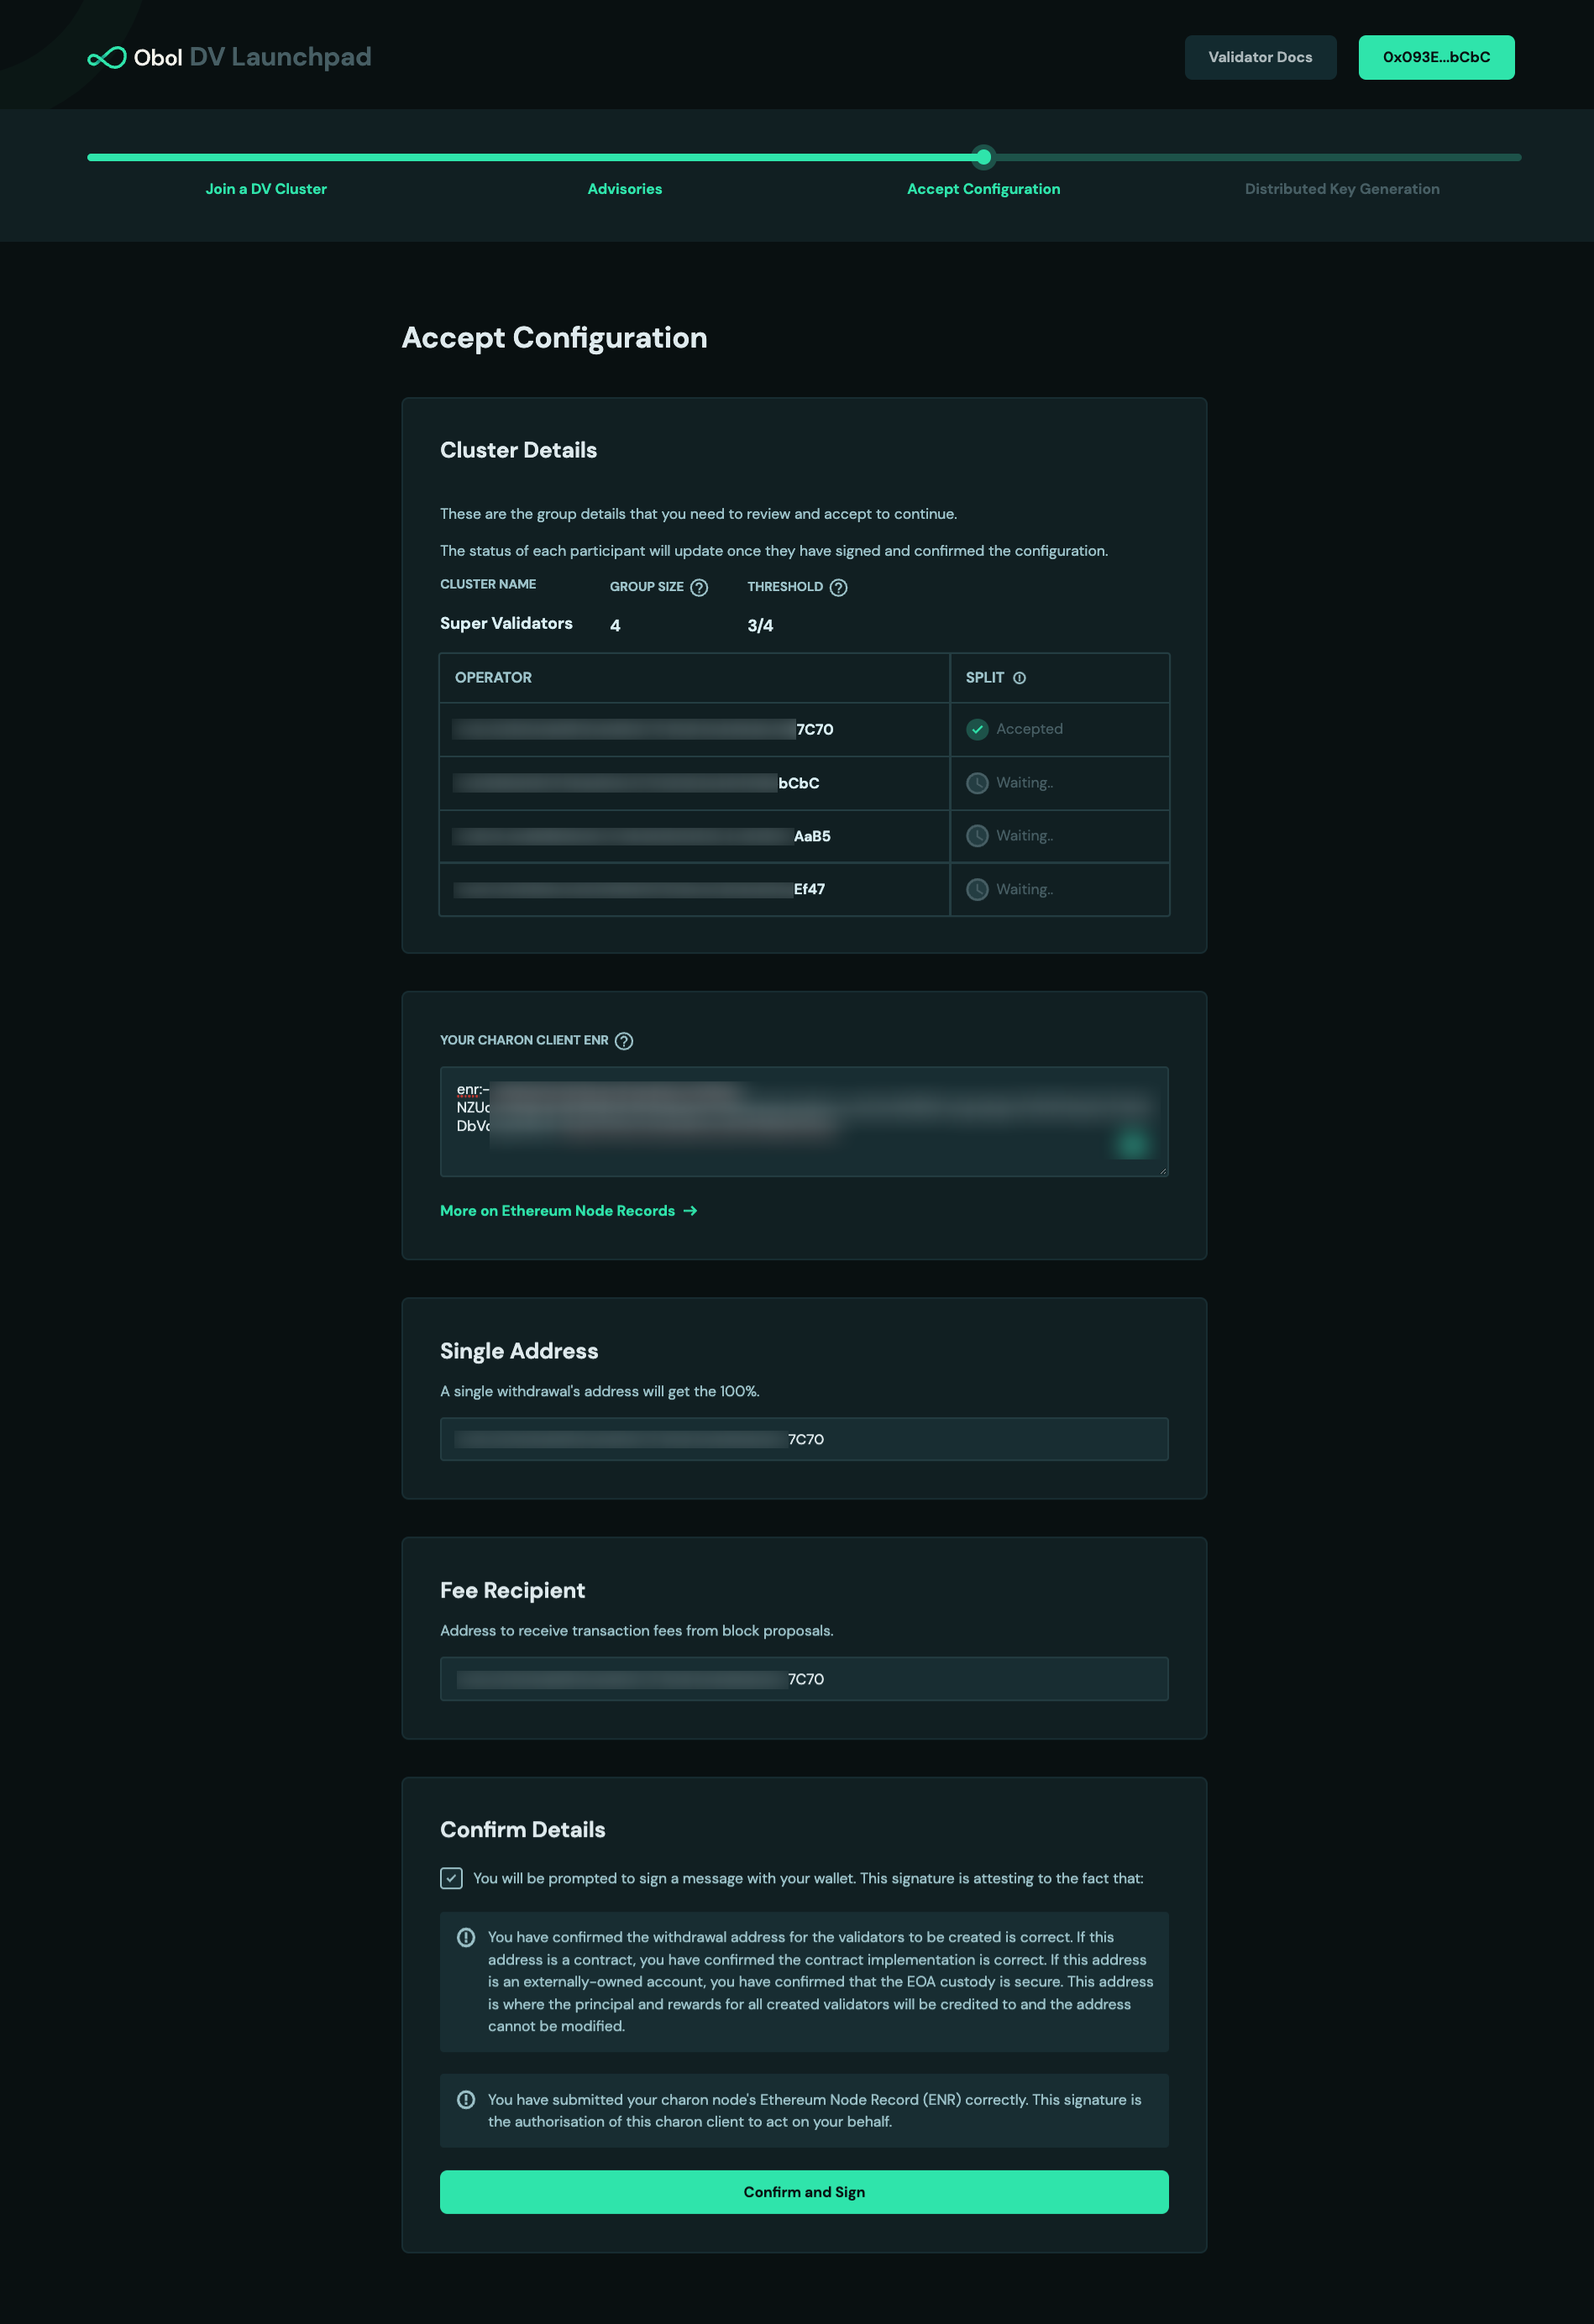
Sign the following with your wallet
- The config hash. This is a hashed representation of all of the details for this cluster.
- Your own
ENR. This signature authorises the key represented by this ENR to act on your behalf in the cluster.
Wait for all the other operators in your cluster to do the same.
Step 4. Run the DKG
For the DKG to complete, all operators need to be running the command simultaneously. It helps to coordinate an agreed upon time amongst operators at which to run the command.
Overview
Once all operators successfully signed, your screen will automatically advance to the next step and look like this. Click
Continue. If you closed the tab, just go back to the invite link shared by the leader and connect your wallet.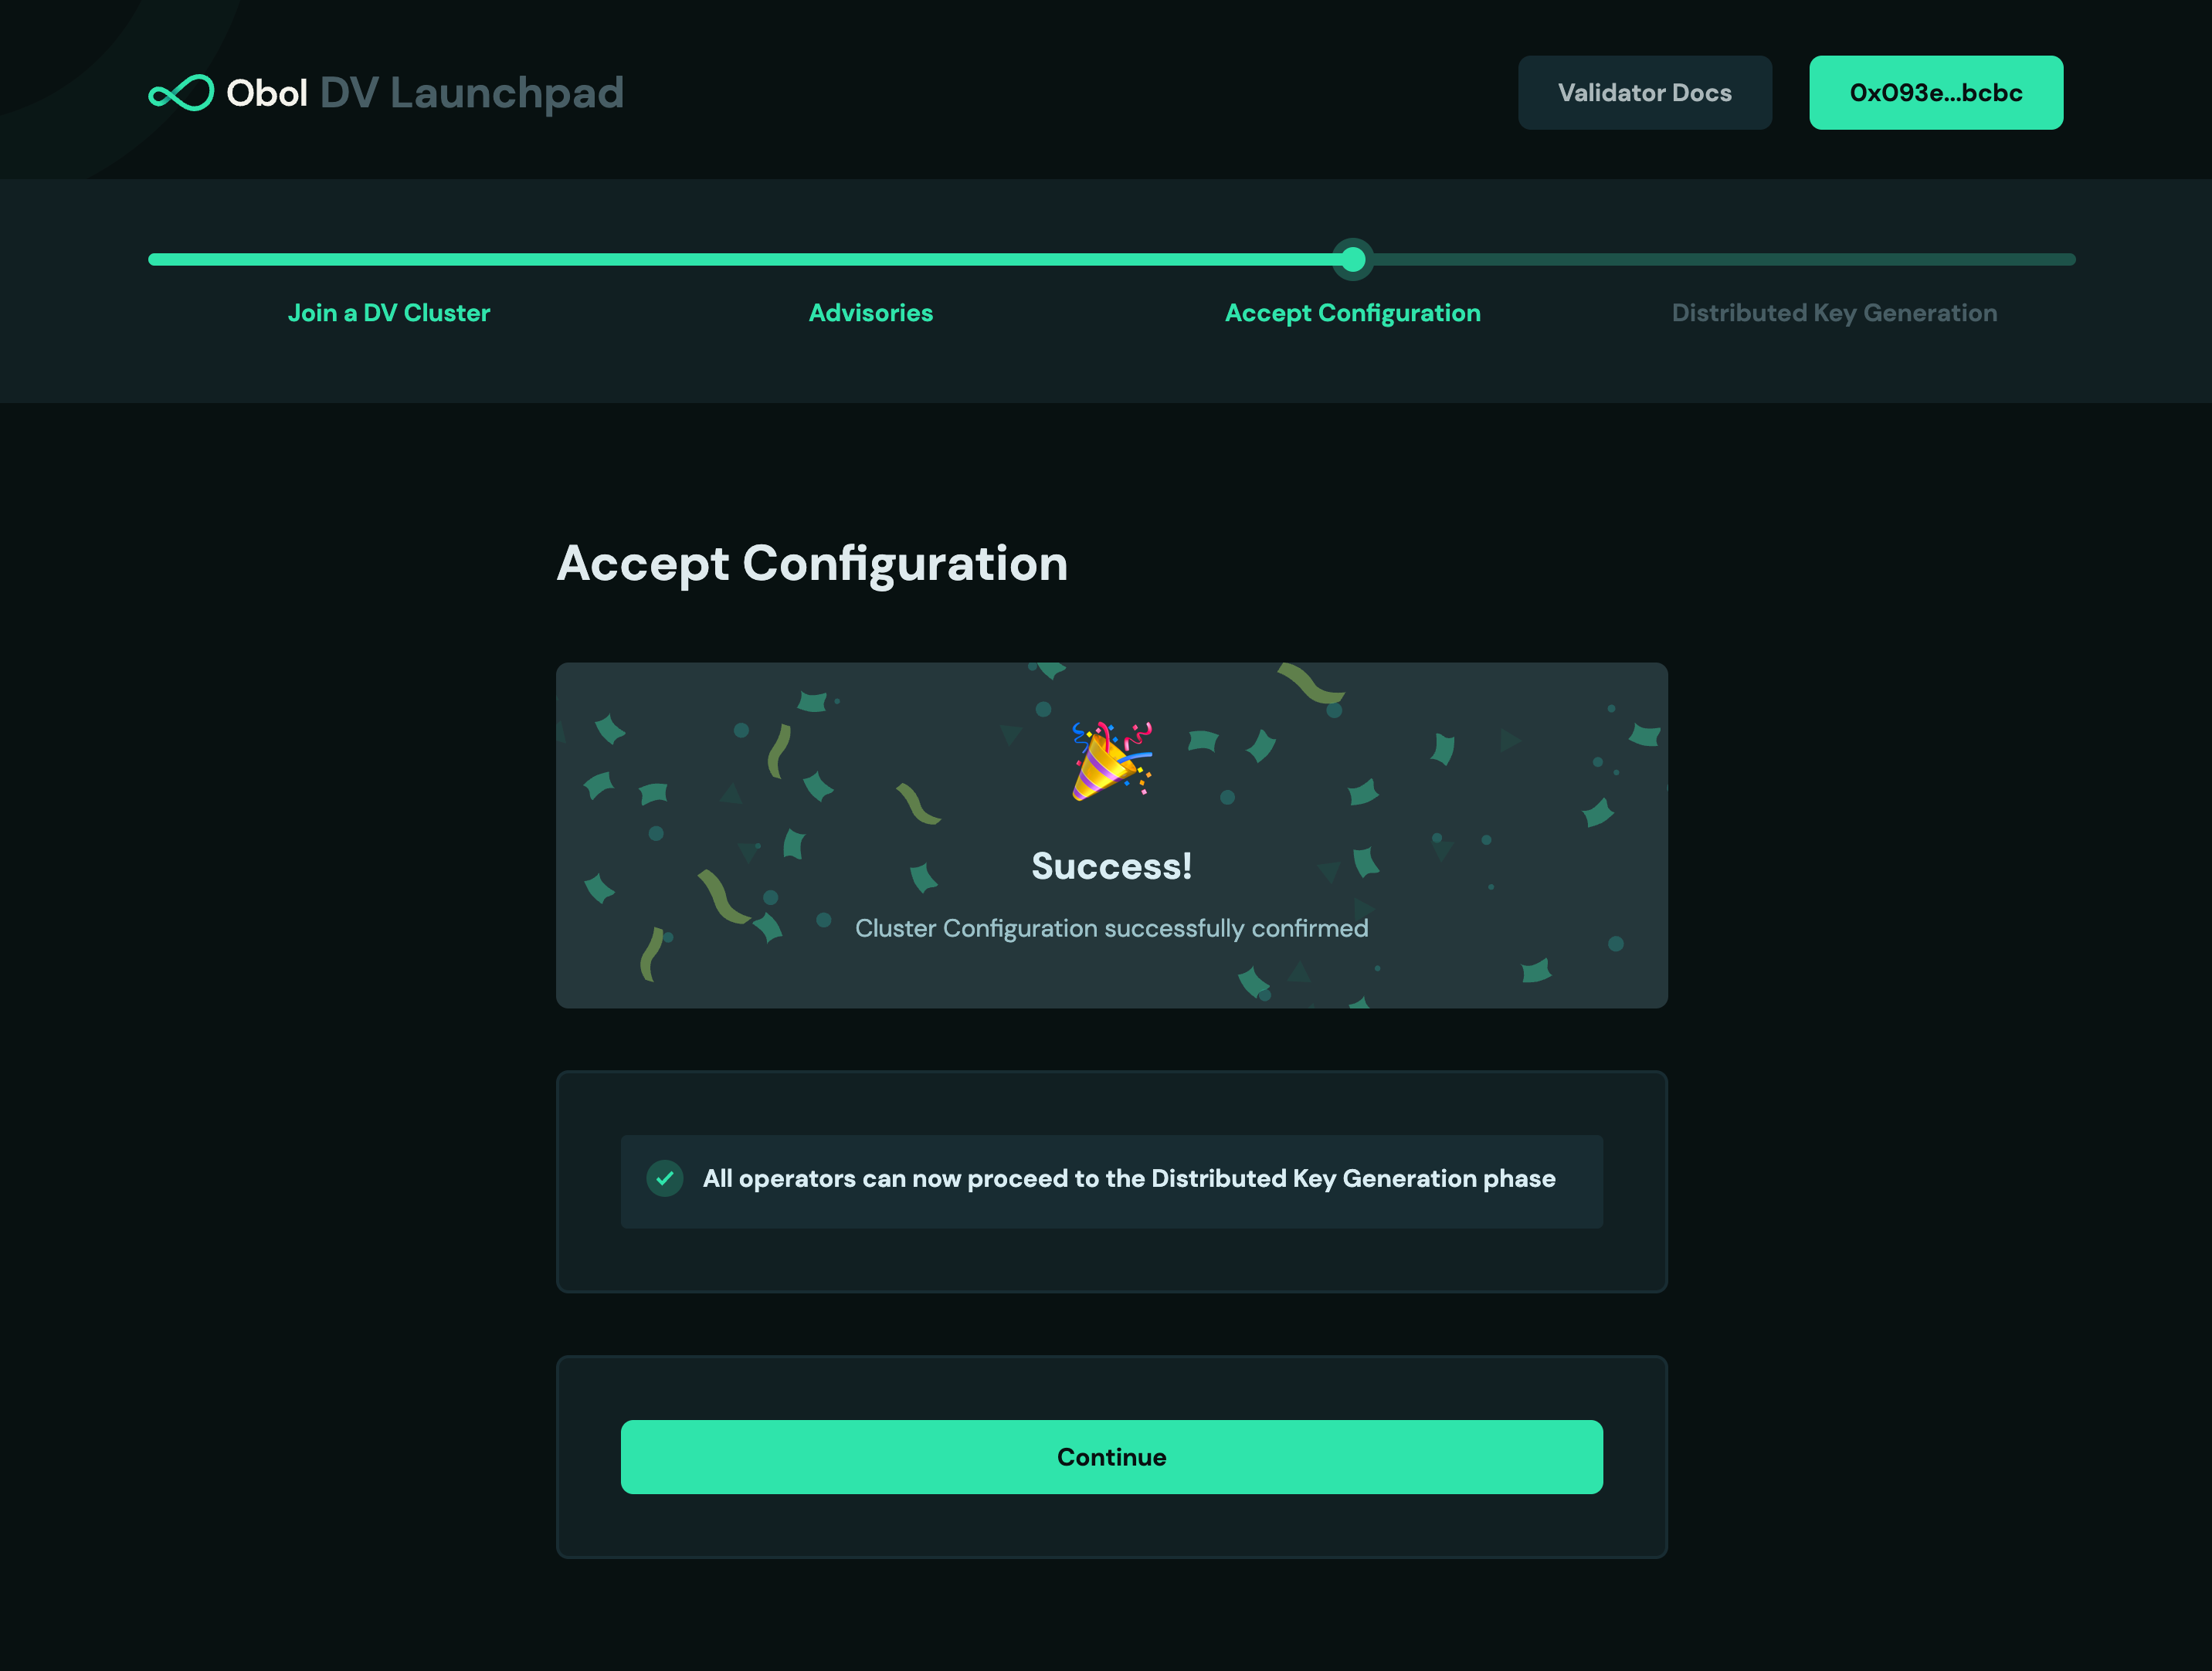
You have two options to perform the DKG.
Option 1 and default is to copy and run the
dockercommand on the screen into your terminal. It will retrieve the remote cluster details and begin the DKG process.Option 2 (Manual DKG) is to download the
cluster-definitionfile manually and move it to the hidden.charonfolder. Then, every cluster member participates in the DKG ceremony by running the command displayed.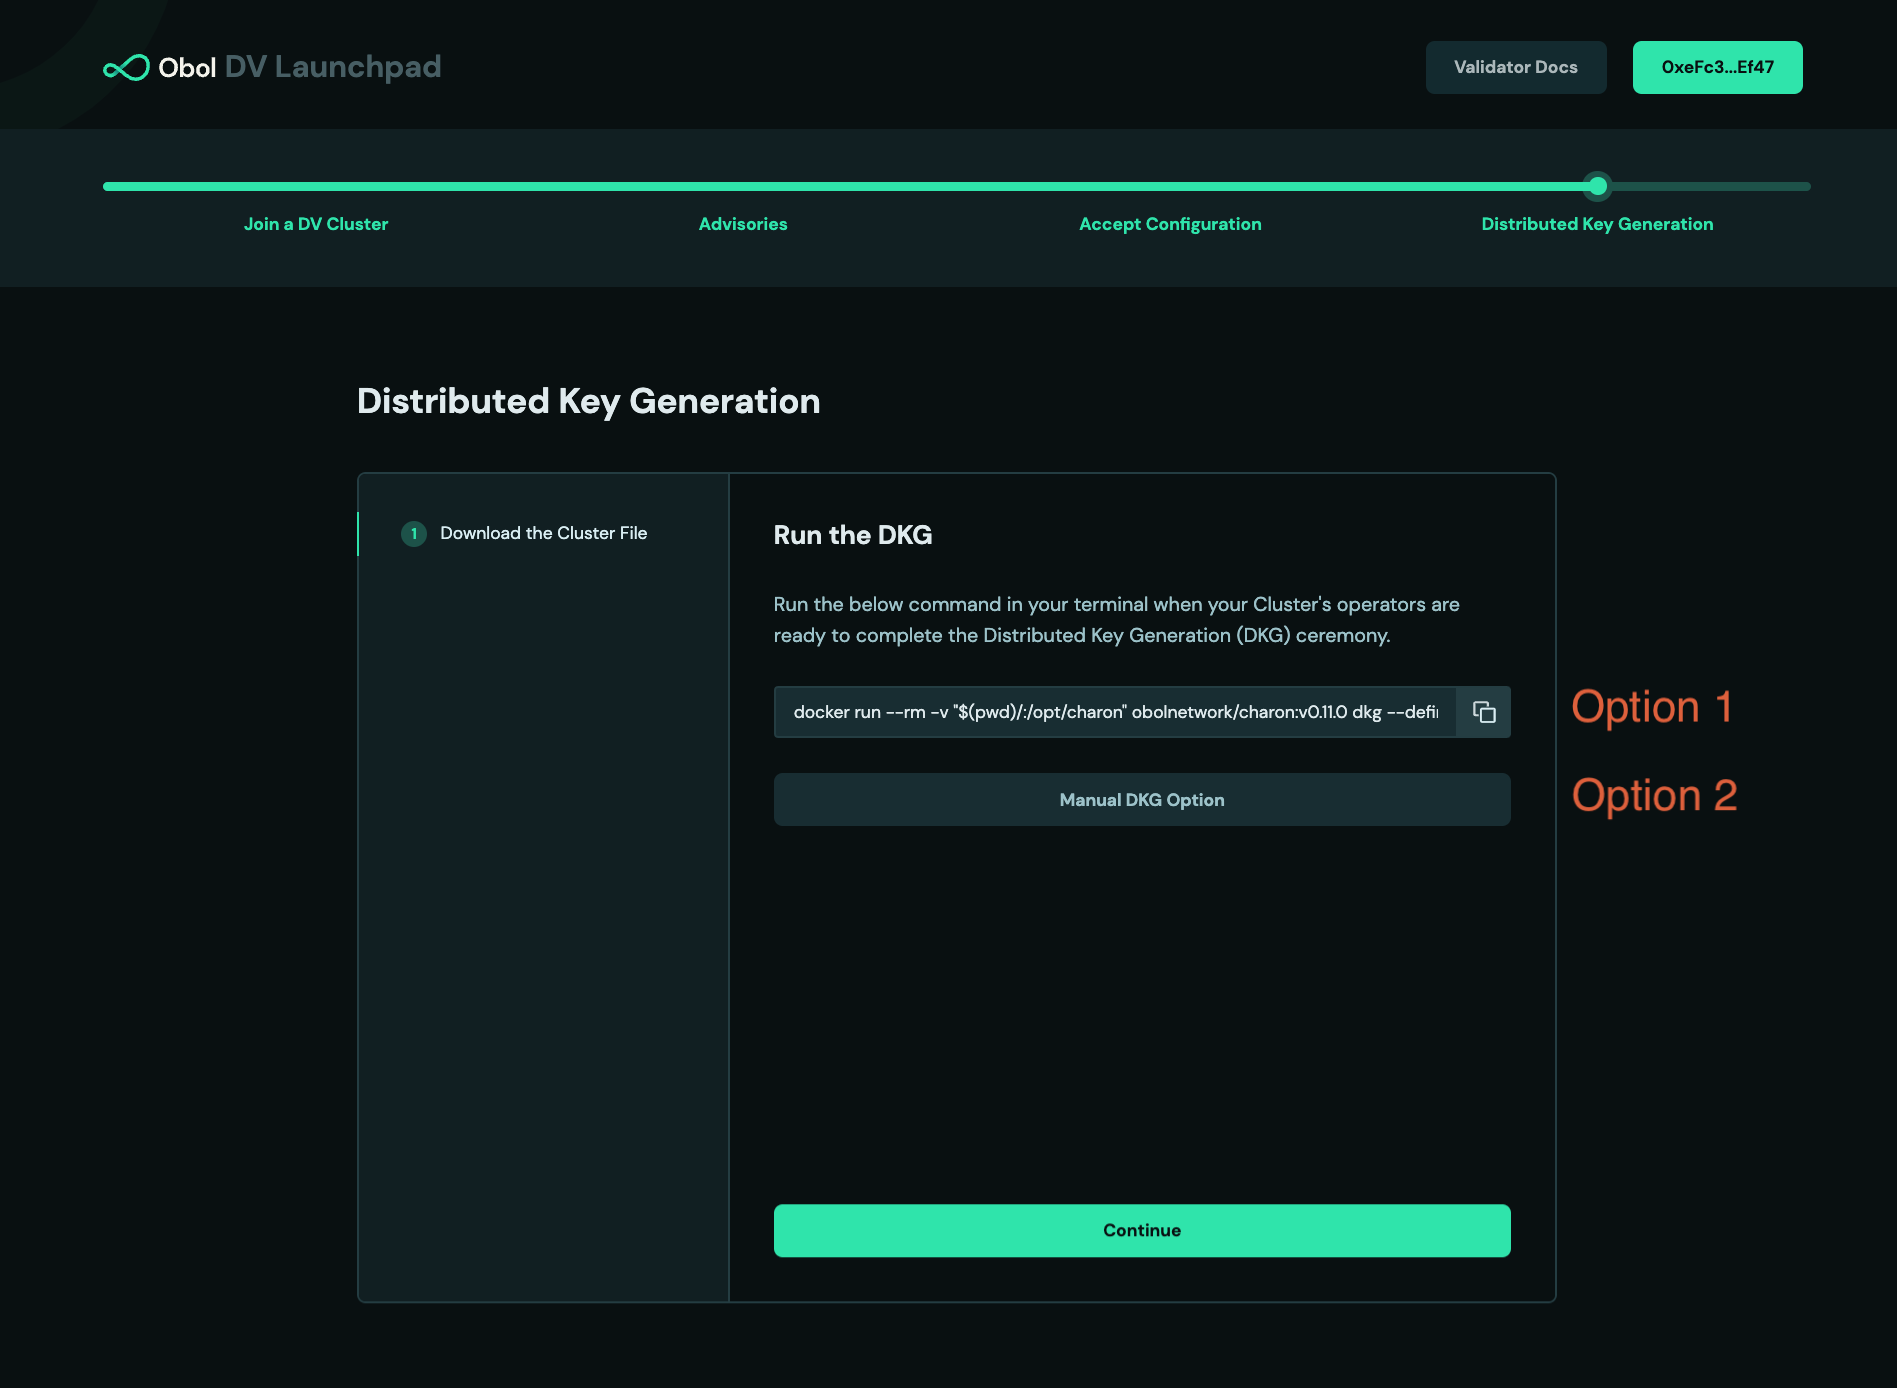
Assuming the DKG is successful, a number of artefacts will be created in the
.charonfolder. These include:- A
deposit-data.jsonfile. This contains the information needed to activate the validator on the Ethereum network. - A
cluster-lock.jsonfile. This contains the information needed by charon to operate the distributed validator cluster with its peers. - A
validator_keys/folder. This folder contains the private key shares and passwords for the created distributed validators.
- A
Please make sure to create a backup of .charon/validator_keys. If you lose your keys you won't be able to start the DV cluster successfully.
The cluster-lock and deposit-data files are identical for each operator and can be copied if lost.
Step 5. Start your Distributed Validator Node
With the DKG ceremony over, the last phase before activation is to prepare your node for validating over the long term. This repo is configured to sync an execution layer client (geth) and a consensus layer client (lighthouse).
Before completing these instructions, you should assign a static local IP address to your device (extending the DHCP reservation indefinitely or removing the device from the DCHP pool entirely if you prefer), and port forward the TCP protocol on the public port :3610 on your router to your device's local IP address on the same port. This step is different for every person's home internet, and can be complicated by the presence of dynamic public IP addresses. We are currently working on making this as easy as possible, but for the time being, a distributed validator cluster isn't going to work very resiliently if all charon nodes cannot talk directly to one another and instead need to have an intermediary node forwarding traffic to them.
Caution: If you manually update docker compose to mount lighthouse from your locally synced ~/.lighthouse, the whole chain database may get deleted. It'd be best not to manually update as lighthouse checkpoint-syncs so the syncing doesn't take much time.
Note: If you have a geth node already synced, you can simply copy over the directory. For ex: cp -r ~/.ethereum/goerli data/geth. This makes everything faster since you start from a synced geth node.
# Delete lighthouse data if it exists
rm -r ./data/lighthouse

# Spin up a Distributed Validator Node with a Validator Client
docker compose up

# Open Grafana dashboard
open http://localhost:3000/d/singlenode/
You should use the grafana dashboard to infer whether your cluster is healthy. In particular you should check:
- That your charon client can connect to the configured beacon client.
- That your charon client can connect to all peers.
Most components in the dashboard have some help text there to assist you in understanding your cluster performance.
You might notice that there are logs indicating that a validator cannot be found and that APIs are returning 404. This is to be expected at this point, as the validator public keys listed in the lock file have not been deposited and acknowledged on the consensus layer yet (usually ~16 hours after the deposit is made).
If at any point you need to turn off your node, you can run:
# Shut down the currently running distributed validator node
docker compose down